
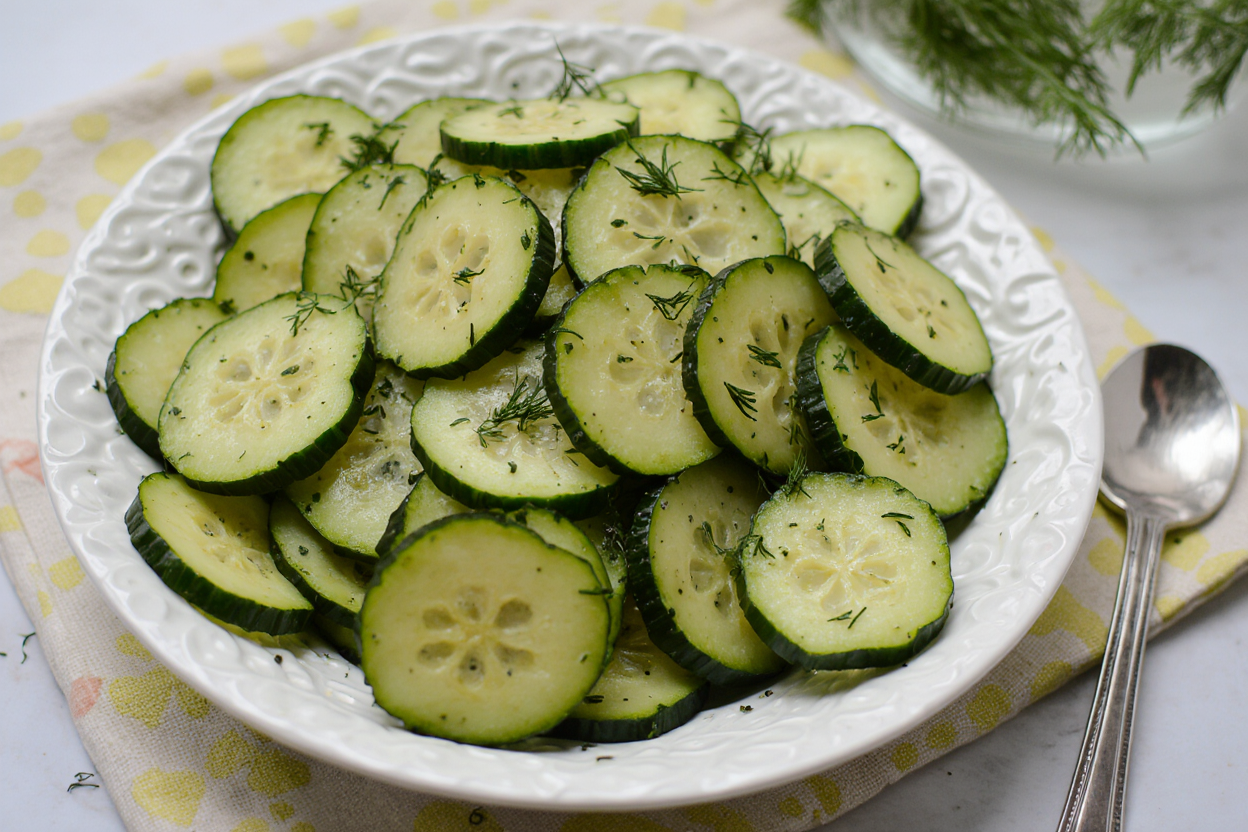
Garlic Dill Cucumbers – Olga’s Flavor Factory
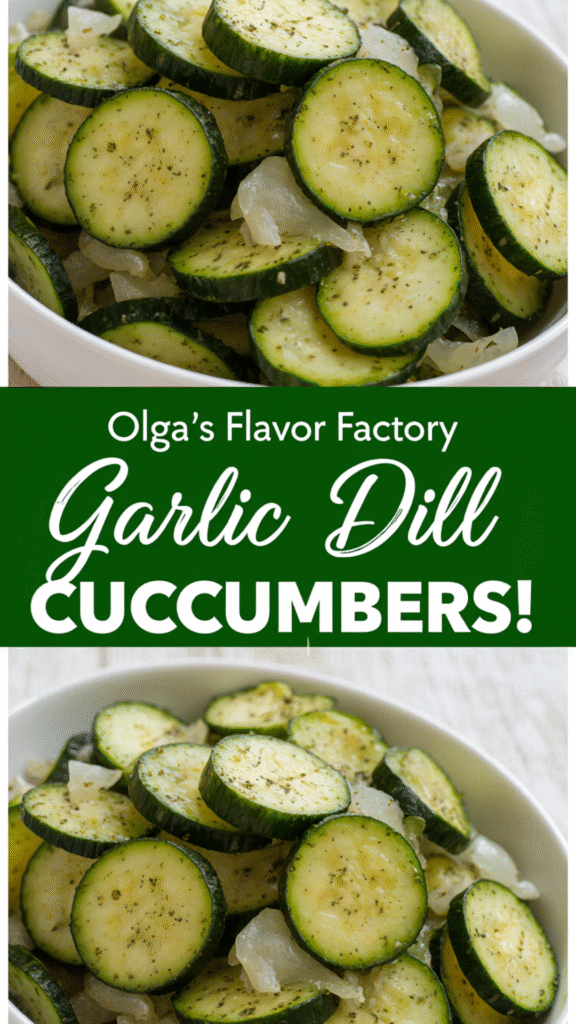
Welcome to Olga’s Flavor Factory, where we share the secret to making perfect garlic dill cucumbers. Ready to make your sandwiches, salads, and snacks better with homemade dill pickles?
Making the best homemade pickles is an art. It needs the right mix of ingredients and technique. With Olga’s help, you’ll learn to make garlic dill cucumbers that are crunchy and flavorful.
Follow this guide to enjoy fresh pickles at home. Let’s start this pickling journey together!
The Art of Making Perfect Pickles
To make perfect pickles, you need to know the basics of pickling. It’s an art that balances ingredients, technique, and patience. The goal is to create pickles that are delicious and safe to eat.
Why Homemade Pickles Are Superior
Homemade pickles are better than store-bought ones in many ways. You control the ingredients, avoiding preservatives and too much salt. You can also make them taste how you like, whether sweeter, tangier, or spicier.
Homemade pickles are fresher because they’re made in small batches. This means you can enjoy them quickly. Using fresh dill and garlic, along with the right pickling method, makes your homemade dill pickles crunchy and flavorful.
This is a big plus over commercial pickles, which may sit on shelves for a long time.
Olga’s Secret to Crisp Garlic Dill Cucumbers
Olga’s secret to crisp garlic dill cucumbers is using fresh ingredients and a precise pickling process. She picks the right cucumbers, fresh dill, and brine recipe. This ensures her pickles are always crunchy.
By following Olga’s method and using quality ingredients, you can make crunchy dill pickles. These are great for snacking or as a side dish. With practice, you’ll master the art of making pickling dill pickles every time.
Essential Ingredients for Garlic Dill Cucumbers
Making perfect garlic dill cucumbers needs careful picking of ingredients. The quality of your pickles depends on the freshness and rightness of what you choose. We’ll look at the key parts for a tasty batch of garlic dill cucumbers.
Selecting the Right Cucumbers
The base of great dill pickles is the cucumbers. For canning, pickling cucumbers are best. They’re smaller, with thicker skin perfect for pickling. Choose cucumbers that are firm and without blemishes.
Fresh Dill and Garlic Components
Fresh dill is key for garlic dill cucumbers’ unique taste. You’ll need fresh dill weed or dill heads for the best flavor. Garlic also adds a lot to the taste. Use fresh, plump garlic cloves for a strong flavor.
Vinegar, Salt, and Spice Selection
The brine makes pickles tangy and preserved. Vinegar, like white vinegar or apple cider vinegar, makes the brine. Salt, a non-iodized type, is also key to avoid clouding the brine. You can add spices like mustard seeds, coriander seeds, or red pepper flakes for extra flavor.
Equipment You’ll Need
To can dill pickles successfully, you need the right tools. Making homemade dill pickles requires careful attention and the right equipment. This ensures the perfect flavors and textures.
Jars and Canning Supplies
Quality jars and canning supplies are key to success. You’ll need:
- Mason jars made for canning
- Lids and rings that fit your jars
- A canning funnel to make the process easier
- A jar lifter for safe handling of hot jars
Kitchen Tools for Preparation
Before you start, prepare your dill pickle recipe. You’ll need:
- A large bowl for soaking cucumbers
- A cutting board for slicing or trimming
- A sharp knife for cutting cucumbers
- A colander for draining
Optional Equipment for Large Batches
For big batches of homemade dill pickles, consider these:
| Equipment | Description | Benefit |
|---|---|---|
| Canning pot | A large pot with a rack for canning multiple jars at once | Increases efficiency and reduces processing time |
| Pickle slicer | A tool designed for uniform slicing of cucumbers | Enhances consistency and saves time |
With the right equipment, you’ll make delicious canning dill pickles. They’ll impress everyone.
Preparing Your Cucumbers for Pickling
Getting your cucumbers ready is key to making tasty homemade pickles. You need to follow a few important steps to get crunchy and flavorful pickles. These steps will help you enjoy your pickling dill pickles all year.
Washing and Trimming Techniques
Start by washing your cucumbers well. Use cold water to get rid of dirt and wax. A vegetable brush can help remove tough dirt, focusing on the stem end. Dry them with a towel to get rid of extra moisture.
Trimming the cucumbers is also important. Cut off both ends to prevent softening. This step keeps your crunchy dill pickles crisp.
Cutting Options: Spears, Chips, or Whole
After washing and trimming, decide how to cut your cucumbers. You can leave them whole, cut them into spears, or slice them into chips. The choice depends on your taste and the pickle texture you want. Whole cucumbers are best for traditional pickles, while spears and chips are great for snacking.
Use a sharp knife to cut your cucumbers. This helps keep the texture and integrity of the cucumbers. Your fresh dill cucumbers will turn out perfectly.
Pre-Soaking for Maximum Crispness
To get the crispest pickles, soak your cucumbers in ice water for a few hours before pickling. This step, called “ice water brining,” keeps the cucumbers hydrated and crunchy. After soaking, drain the cucumbers and start your pickling recipe.
By following these steps, you’re on your way to making delicious homemade pickles. These tips will help you make perfect pickling dill pickles every time, whether you’re a pro or a beginner.
Step-by-Step Dill Cucumbers Recipe
It’s time to make your cucumbers into tangy, garlicky pickles. This guide will show you how to make the perfect brine, pack your jars, and process them for long-term enjoyment.
Creating the Perfect Brine
The brine is key for your dill pickles. It gives them flavor and keeps them fresh. Mix 1 cup of water, 1 cup of white vinegar, and 1 tablespoon of pickling salt in a saucepan. Heat it until the salt dissolves.
For extra flavor, add garlic cloves, dill weed, or mustard seeds to the brine. This step is optional but makes a big difference in taste.
Packing Your Jars Properly
First, make sure your jars are clean and sterilized. Fill the jars with cucumbers, leaving 1/2 inch of headspace. Pour the hot brine over the cucumbers, keeping the headspace.
Get rid of air bubbles by using a non-metallic tool. Clean the rims with a damp cloth. Then, put on the lids and rings.
Processing Times for Different Methods
The processing time depends on your chosen method. Here are the details for two popular methods:
Water Bath Canning Method
For water bath canning, put the jars in boiling water. Make sure they’re covered by 1 inch of water. Process for 10 minutes, adjusting for altitude if needed.
Refrigerator Pickle Method
For refrigerator pickles, let the jars cool before refrigerating. They’ll be ready to eat in a few hours. They’ll keep for weeks in the fridge.
| Method | Processing Time | Storage |
|---|---|---|
| Water Bath Canning | 10 minutes | Room Temperature (shelf-stable) |
| Refrigerator Pickling | A few hours | Refrigerator |
Canning Safety and Best Practices
Canning dill pickles is more than just a recipe. It’s about making sure jars are clean and sealed right. To enjoy your pickles safely, follow these canning safety tips.
Sterilization Requirements
First, you need to sterilize your jars and lids. You can do this by boiling them for 10-15 minutes or using a dishwasher’s sterilization cycle. Make sure your jars are hot when you fill them with pickles. This prevents them from cracking due to sudden temperature changes.
Signs of Proper Sealing
Let your jars cool for 24 hours after processing. A sealed jar will have a concave lid that doesn’t move when pressed. Check the seal by trying to lift the lid off; if it’s sealed right, it won’t move.
| Sealing Status | Lid Behavior | Action |
|---|---|---|
| Properly Sealed | Lid is concave and doesn’t move | Store in a cool, dark place |
| Not Sealed | Lid moves when pressed | Reprocess or refrigerate |
When to Discard Questionable Jars
If you see signs of spoilage like an off smell or mold, throw the jar away. Also, if the jar leaks or the lid bulges, it’s best to get rid of it. Always check your jars for any signs of wear.
By sticking to these canning safety tips, you can enjoy your homemade dill pickles safely and with confidence.
Flavor Variations and Add-ins
The basic recipe is just the start. Let’s explore creative pickle flavors. Once you master the classic garlic dill cucumbers, you can try different add-ins and flavors. This way, you can make unique and tasty pickles.
Spicy Dill Cucumber Options
Want a little heat in your pickles? Add spicy elements to your garlic dill cucumbers. Red pepper flakes or sliced jalapeños can give an extra kick. For a subtle warmth, use chili oil-infused garlic or hot sauce like sriracha.
Tips for Adding Heat:
- Start with a small amount of heat and adjust to taste.
- Use different types of peppers or spicy ingredients to vary the flavor.
- Consider adding a spicy element to the brine for a uniform heat distribution.
Sweet and Dill Combinations
For a sweeter pickle, balance acidity and saltiness with sugar or sweet ingredients. Slices of fresh cucumber or a bit of honey in the brine can create a perfect balance of flavors.
Sweet and Dill Pairing Ideas:
- Add a tablespoon or two of honey or maple syrup to the brine.
- Include slices of sweet peppers or onions in the pickling jar.
- Experiment with sweet spices like cinnamon or allspice.
Herb and Spice Variations
Try different herbs and spices to change your pickle’s flavor. Add fresh or dried herbs like parsley, tarragon, or bay leaves for unique flavors.
Mediterranean Style
For a Mediterranean twist, add kalamata olives, artichoke hearts, or sun-dried tomatoes. A sprinkle of oregano or thyme can also enhance the taste.
Eastern European Flavors
For an Eastern European flavor, add caraway seeds, mustard seeds, or smoked paprika. These ingredients will give your pickles depth and a unique taste.
Exploring these flavor variations and add-ins lets you create many pickle flavors. Whether you like spicy, sweet, or savory, there’s endless possibility.
Using Dill Cucumbers in Recipes
Having homemade dill pickles on hand opens up many culinary possibilities. You can add them to various dishes for flavor and texture. They’re great in sandwiches, burgers, salads, and side dishes.
Sandwich and Burger Enhancements
Adding sliced homemade dill pickles to sandwiches and burgers boosts their taste. They go well with deli meats, cheeses, and grilled meats. Try them in a classic deli sandwich or on your favorite burger.
For a twist, chop your pickles and mix them into sandwich spreads or sauces. This adds an extra flavor kick.
Salads and Side Dishes
Chopped fresh dill cucumbers are great in green salads, pasta salads, or as a grain bowl topping. They bring a refreshing crunch and tangy flavor that goes well with many ingredients.
You can also make a pickle-based side dish, like a pickle and cheese platter or a tangy pickle relish. These are perfect with grilled meats.
Pickle-Forward Recipes
Want to show off your homemade dill pickles? Try making pickle-forward recipes like a Dill Pickle Dip or a Pickle-Topped Potato Salad. These dishes let your pickles shine and are great for gatherings or potlucks.
| Recipe | Main Ingredients | Description |
|---|---|---|
| Dill Pickle Dip | Homemade dill pickles, sour cream, dill | A creamy dip with the tangy flavor of dill pickles, perfect for snacking. |
| Pickle-Topped Potato Salad | Boiled potatoes, chopped pickles, mayonnaise | A classic potato salad with the tang and crunch of homemade dill pickles. |
Conclusion: Enjoying Your Homemade Garlic Dill Cucumbers
Now that you’ve made your own garlic dill cucumbers, it’s time to enjoy them. They have a crunchy texture and a tangy flavor. They’re perfect for snacking, adding to sandwiches, or as a side dish.
With your new skills, you can try different versions of the recipe. You can adjust the garlic, dill, and spices to your liking. Share your creations with friends and family. It’s rewarding to make something special.
Homemade dill pickles are great in many dishes. Use them in salads, as a burger topping, or as a snack. They’re so versatile, they’ll become a favorite in your kitchen.
FAQ
What is the best type of cucumber to use for making dill pickles?
For making dill pickles, use cucumbers labeled as “pickling cucumbers” or “Kirby cucumbers.” They have thick skin and fewer seeds than other cucumbers. This makes them perfect for pickling.
How do I keep my homemade dill pickles crunchy?
To keep your pickles crunchy, use the right pickling salt. Keep them refrigerated and avoid over-processing. Adding pickling lime or calcium chloride to the brine can also help.
Can I can dill pickles using a water bath canner?
Yes, you can can dill pickles in a water bath canner. But, it’s key to follow safe canning practices. Make sure the pickles are sterilized and sealed well to avoid spoilage.
How long do homemade dill pickles last?
Homemade dill pickles can last months to a year or more in the fridge or freezer. Canned pickles can last up to a year or more in a cool, dark place.
Can I customize the flavor of my dill pickles?
Yes, you can change the flavor of your dill pickles. Add different spices, herbs, or ingredients to the brine. Try spicy, sweet, or garlic dill pickles for a unique taste.
What is the difference between refrigerator pickles and canned pickles?
Refrigerator pickles are stored in the fridge, while canned pickles are canned in a water bath canner. Refrigerator pickles last shorter and need refrigeration. Canned pickles can be stored at room temperature.
How do I make sweet dill pickles?
To make sweet dill pickles, add sugar or sweeteners to the brine with dill and spices. You can also mix dill with garlic or mustard seeds for a special flavor.